Creating Realistic Fake Scars for Halloween - A Step-by-Step Guide
Creating Realistic Fake Scars for Halloween - A Step-by-Step Guide
Creating Realistic Fake Scars for Halloween - A Step-by-Step Guide
Creating Realistic Fake Scars for Halloween - A Step-by-Step Guide
Halloween is just around the corner, and if you're looking to take your costume to the next level, creating realistic fake scars can add that extra touch of fright. Whether you want to transform into a gruesome zombie, a terrifying monster, or a sinister villain, fake scars can help bring your character to life.
Why Choose Fake Scars?
Fake scars are an essential part of any Halloween costume. They can instantly make your character more believable and create a sense of fear or unease in those who see you. While there are plenty of pre-made scar prosthetics available on the market, making your own fake scars allows for more creativity and customization.
Materials You'll Need
To get started with creating fake scars, gather the following materials:
- Liquid latex
- Tissue paper or toilet paper
- Cotton balls or Q-tips
- Skin-safe adhesive (optional)
- A makeup sponge or brush
- Scar wax (optional)
- A spatula or popsicle stick for applying scar wax (optional)
- Fake blood
- Paintbrushes (different sizes)
- Cream-based makeup in various colors (bruise tones, reds, browns, blacks)
- Powdered makeup or translucent powder
- Setting spray
Step-by-Step Guide to Creating Fake Scars
Now that you have all the necessary materials, let's dive into the step-by-step process of creating realistic fake scars:
Step 1: Prep Your Skin
Clean and dry the area where you plan to apply the fake scar. Ensure that your skin is free from any oils or lotions, as they can interfere with the adhesion of the materials.
Step 2: Build a Base with Liquid Latex and Tissue Paper
Tear small pieces of tissue paper or toilet paper into irregular shapes. Apply a layer of liquid latex on your skin where you want the scar to be and then press the tissue paper onto it. Repeat this process until you achieve the desired shape and thickness for your scar. Make sure to leave an opening in the center if you want to add depth.
Step 3: Add Texture with Scar Wax (Optional)
If you want your scar to have more texture, apply a thin layer of scar wax on top of the tissue paper using a spatula or popsicle stick. Mold it into shape and blend it seamlessly with your skin using a bit of liquid latex or skin-safe adhesive.
Step 4: Seal and Set
To prevent any unwanted movement or lifting, seal the edges of your fake scar with additional liquid latex or skin-safe adhesive. Allow everything to dry completely before moving on to the next step.
Step 5: Paint Your Scar
Use a makeup sponge or brush to apply foundation or cream-based makeup that matches your skin tone over the entire scar area. Gradually layer different colors such as bruise tones, reds, browns, and blacks to create depth and realism. Use varying brush strokes and techniques to mimic the appearance of aged or dried blood.
Step 6: Add Blood
To make your fake scar look fresh and gruesome, apply fake blood using a paintbrush. Drip it along the edges of the scar and in any openings you created earlier. Allow the blood to flow naturally for a more realistic effect.
Step 7: Set and Blend
Dust powdered makeup or translucent powder lightly over your fake scar to set the cream-based makeup. This will prevent smudging and ensure longevity. Gently blend the edges of your scar with your surrounding skin using a clean brush or sponge for a seamless finish.
Step 8: Finishing Touches
To enhance the durability of your fake scars and prevent any smudging throughout the night, mist them with setting spray. This will help lock everything in place.
Tips and Tricks for Realistic Fake Scars
- Experiment with different shapes, sizes, and placements of scars to create unique effects.
- Watch tutorials online for inspiration and guidance on creating specific types of scars (e.g., gashes, claw marks).
- Add additional details like stitches or dirt using black eyeliner pencils or powdered eyeshadows.
- If you're short on time or prefer a simpler approach, consider using pre-made scar prosthetics that can be easily applied and blended with makeup.
- Practice beforehand to perfect your technique and understand the drying times of the materials you're using.
- Remember to take care of your skin by removing all the makeup and adhesive properly after your Halloween festivities are over.
Creating fake scars for Halloween is a fun and creative way to elevate your costume. With a few simple materials and a little practice, you can achieve realistic results that will leave everyone impressed. So, get ready to scare and shock this Halloween with your exceptional scar-making skills!
Featured collection


Original price
$27.95
-
Original price
$27.95
Original price
$27.95
$27.95
-
$27.95
Current price
$27.95
Sexy Post Office Girl | Costume-Shop.com
In stock
Attention all aspiring letter carriers and mail enthusiasts! Prepare to deliver a package of seductive style and naughty charm with our Sexy Post O...
View full details
Original price
$27.95
-
Original price
$27.95
Original price
$27.95
$27.95
-
$27.95
Current price
$27.95


Original price
$110.95
-
Original price
$110.95
Original price
$110.95
$110.95
-
$110.95
Current price
$110.95
Northern Warrior Costume | Costume-Shop.com
Low stock
Upgrade your costume game to legendary status with the Northern Warrior Costume! Designed for rugged adventurers and fearless warriors of the North...
View full details
Original price
$110.95
-
Original price
$110.95
Original price
$110.95
$110.95
-
$110.95
Current price
$110.95
Original price
$34.95
-
Original price
$34.95
Original price
$34.95
$34.95
-
$34.95
Current price
$34.95
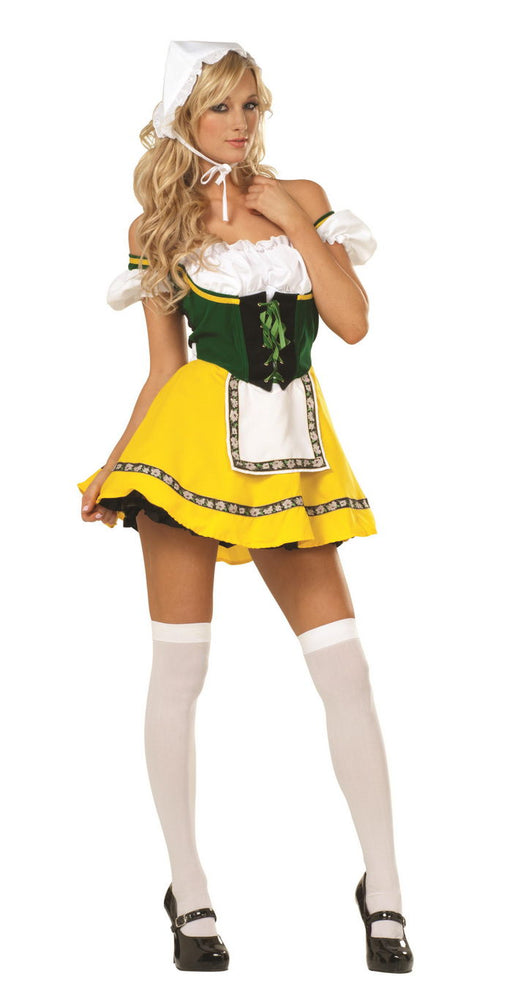
Beer Garden Babe Oktoberfest | Costume-shop.com
In stock
🇩🇪 Step into the Festivities with Bavarian Charm! Embrace the spirit of Oktoberfest in the Beer Garden Babe Costume from www.Costume-shop.com. Perf...
View full details
Original price
$34.95
-
Original price
$34.95
Original price
$34.95
$34.95
-
$34.95
Current price
$34.95
Original price
$33.95
-
Original price
$33.95
Original price
$33.95
$33.95
-
$33.95
Current price
$33.95
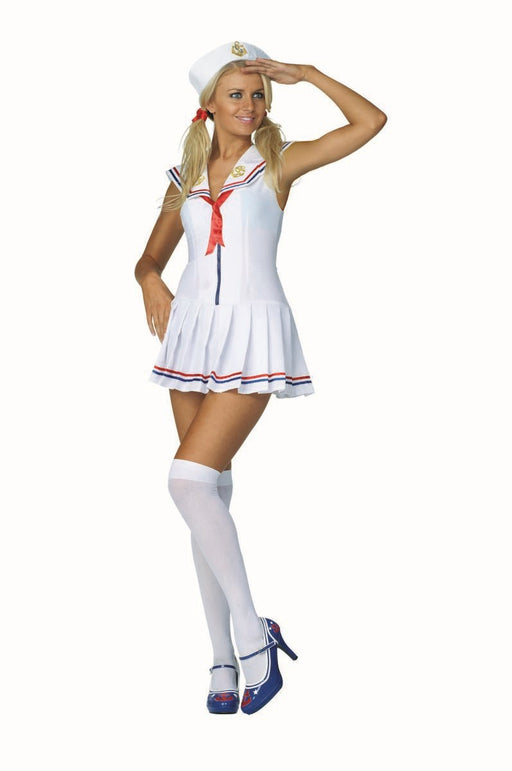
Sailor's Delight | Costume-Shop.com
In stock
🚢 Navigate the High Seas of Fashion! Command attention at your next party with the Sailor's Delight Costume from www.Costume-shop.com. Perfect for ...
View full details
Original price
$33.95
-
Original price
$33.95
Original price
$33.95
$33.95
-
$33.95
Current price
$33.95
Original price
$66.95
-
Original price
$66.95
Original price
$66.95
$66.95
-
$66.95
Current price
$66.95
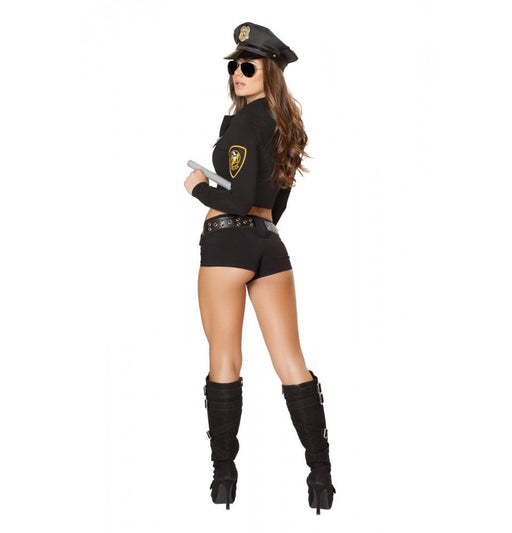
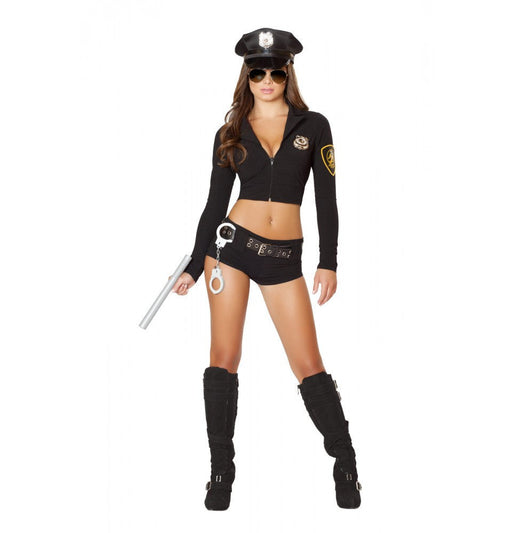
Sexy Police Officer Hottie | Costume-Shop.com
Low stock
🚓 Enforce Fun with a Dash of Flair! Step into the role of authority with the Sexy Police Officer Hottie Costume from www.Costume-shop.com. Designed...
View full details
Original price
$66.95
-
Original price
$66.95
Original price
$66.95
$66.95
-
$66.95
Current price
$66.95
Leave a comment